stars

stars

Sunday, September 27, 2015

A "deer" stamp set for Christmas

If you look up the word cute in the dictionary, I'm willing to bet you would see a Lawn Fawn stamp set to illustrate the meaning.  This company has such charming and sweet images and somehow these Christmas/winter themed stamp sets are even more adorable than usual!   I knew when I saw these in their preview in August, I HAD to have them for my Christmas cards this year. 

Toboggan Together and Ready, Set, Snow!  are made to coordinate, and each set has matching dies available. 


The critters have the patented Lawn Fawn charm, and are just made to be colored with Copics. 
If you don't have Copic markers, you can get some colored pencils and color them in with those.  Ordinary colored pencils can do a good  job and you can shade with them by just making the edges of the images darker and going toward the light in the middle.  Just keep layering the colors on and you can use an eraser to adjust the lightness in the middle.

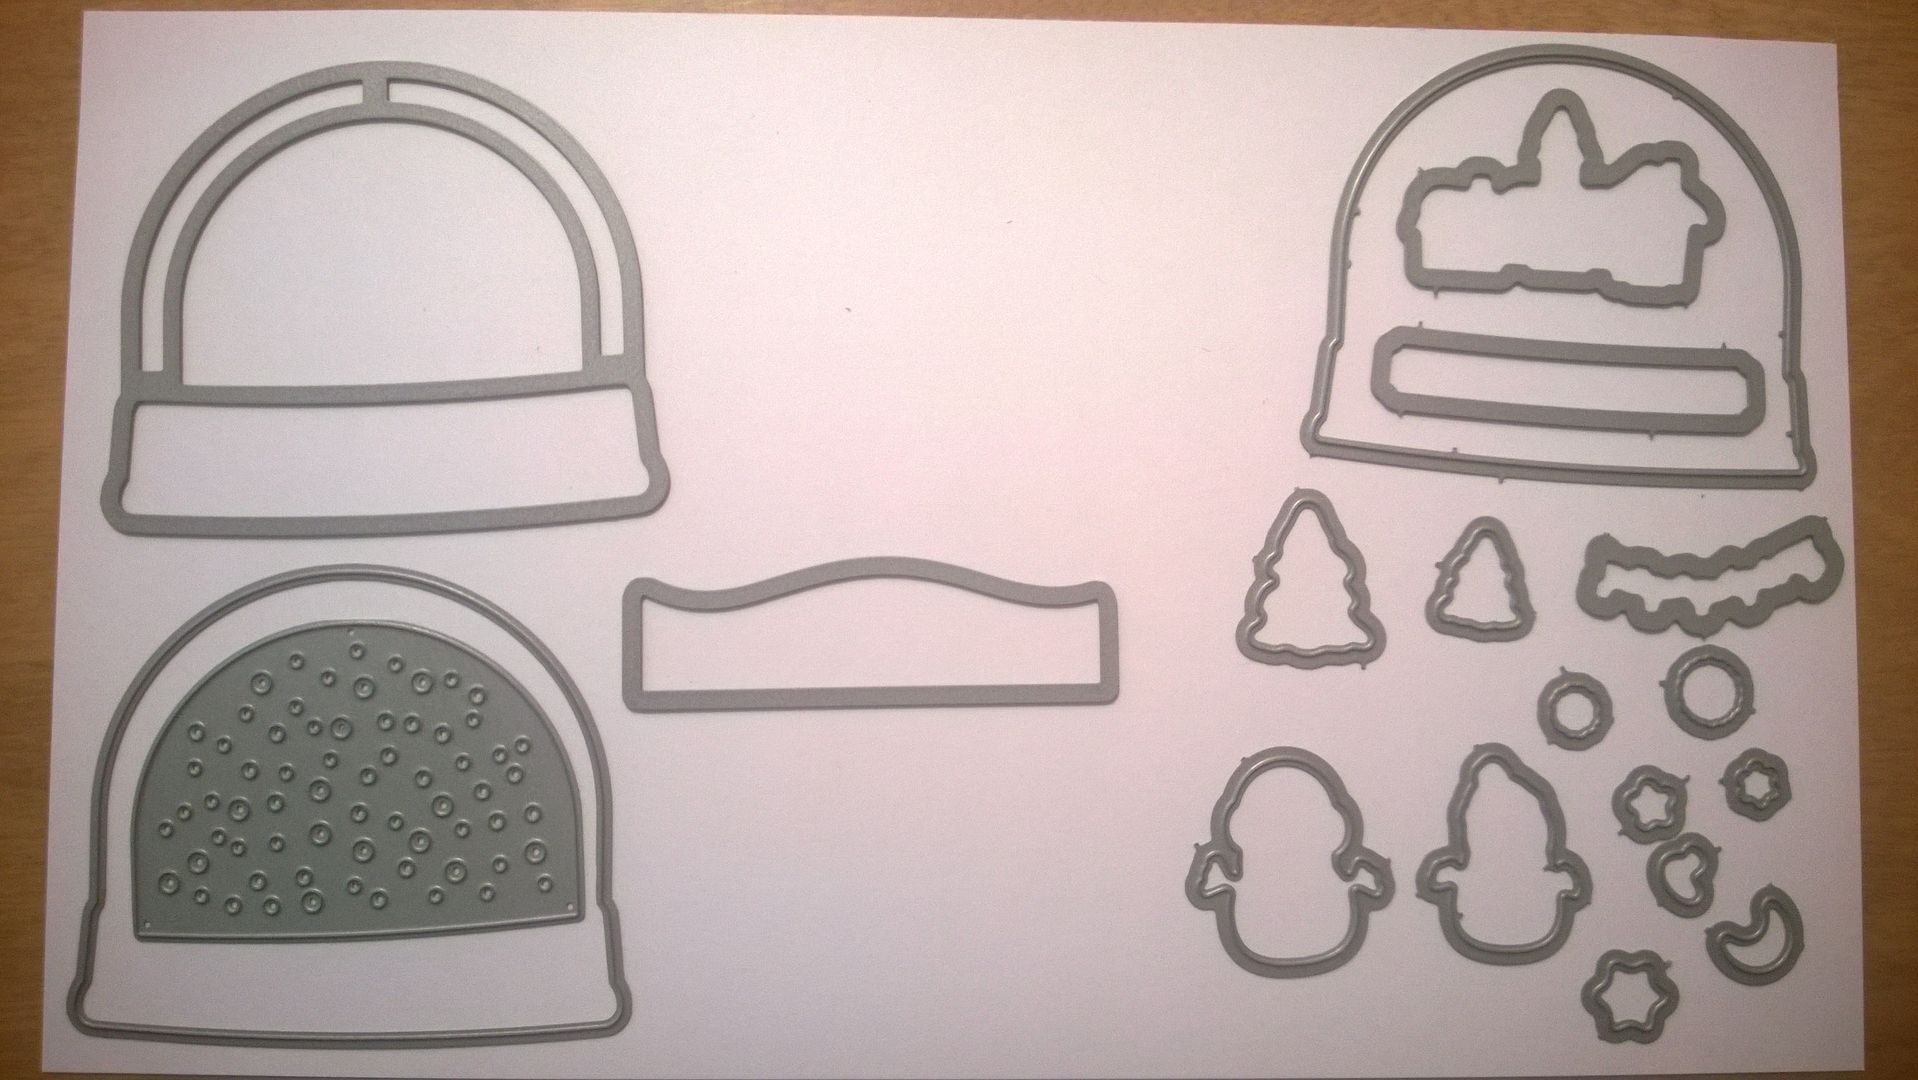
The Ready, Set, Snow stamp set has two sets of coordinating dies with them. One has all the critters and the other has more detailed dies for the snow globe, as you can see. 


The die set on the left cuts out the snow globe's window as well as the exterior of the snow globe.  It also contains a die for the "snow" to go in the globe.   The die set on the left includes one that cuts out the exterior of the snow globe that is the same as the one in the other set, and includes all the critters.

With the additional snow globe dies, you can easily make shaker cards by layering the globe window die (pictured upper left), with acetate, foam and cardstock.

The first card I made was this one.   I used a stand-up card from Stamps of Life.  I simply layered the papers and colored the images with Copic markers.  The die that cuts out the "snow" makes a nice effect when used with glitter paper, as I used here.  If you are making a shaker card, you can also use the "confetti" pieces that the snow background die makes as a filler for your shaker.   


I really like the little Santa and his reindeer shadow going over the little town. I layered the trees by popping one up with foam mounting tape.  The snowy patterned paper was from the dollar store a long time ago when they had patterned paper. I think it was Miss Elizabeth brand.


I made shaker ornament separate from the card base for this one.  Kelly from Lawn Fawn has a tutorial showing how to make shaker cards with this set using foam and cardstock.  I colored the deet with Copic markers and filled the shaker with some small beads, bugle beads and some tiny snowflakes I had a die for.  Papers are from Echo Park. Twine from the Twinery.  I punched two little holes in the base of the card and tied the string from the top of the ornament in the bow, so the ornament will be able to be easily removed and can be hung on the card recipient's tree. 

Thanks for looking! 
Monday, September 14, 2015

Thinking of You.

There's a lot to be said for "snail mail."  We who make and send our own cards know that.  In this age of so much information, it's nice to get an old fashioned card "just because" or to let someone know they are on our minds and in our hearts.  I made this card for my step brothers.  My step mother passed away earlier this year and her birthday is coming up.  I know it's been difficult for them this year and I know they will be missing their mother on her birthday as will I.  My father and his wife were very much in love.  Before my dad passed, he told my stepmother that he would come back to her as a butterfly.  One day as she was sitting feeling very down, missing him, a big butterfly came and landed right on her hand.  She was full of hope and faith after this.  So I wanted to use two butterflies on the card.


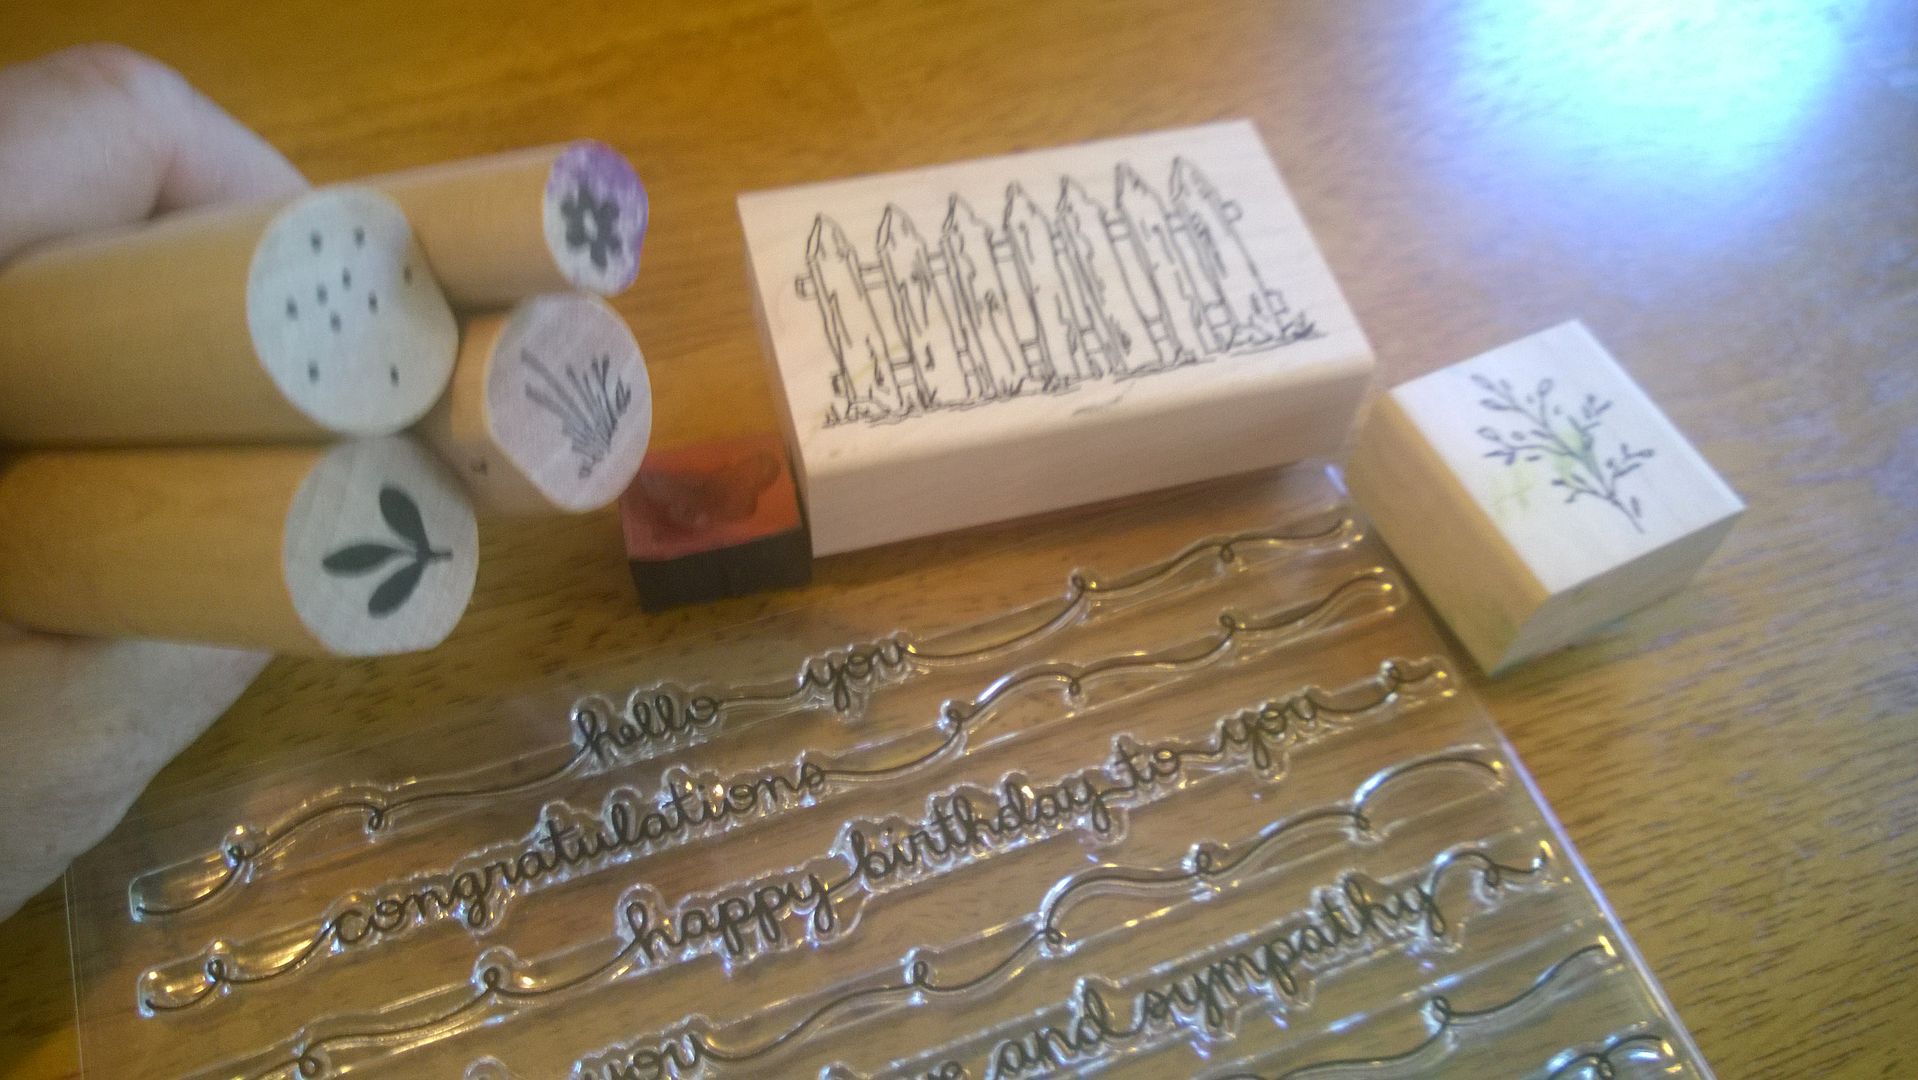
I used Gina K heavy cardstock for the image, and sprayed it with glacier glimmer mist  on the top, and olive glimmer mist on the bottom.  I stamped the fence (not sure of the manufacturer on that).  Then I added the grass, flowers, bushes, dots, and leaves with various inks (Versamark, Distress Inks) and colored in the fence and butterflies with copic markers.  The stamps used for the garden are from Stamps by Judith, and the butterflies are from Making Memories.   The sentiment is from Lawn Fawn, "script sayings". I just love those sayings!  


The Stamps by Judith are a little different.  Many of them come on long sticks.  They are all designed to go together and really make sweet garden like scenes.   It's also fun to have a shape cut out, like an oval or heart, and make a border on a card with these floral stamps.  Very wreath like.


thanks for looking!


Saturday, March 14, 2015

Bee Happy

I used Stephanie Bernard's "Bee4me" stamp set, and I bought the card base already embossed with the honeycomb design on it from Studio G.  The "Happy" die is from Stephanie Bernard as well, it came in a card kit.  She has amazing card kits!  It's like a little gift to myself every month when that box comes.  You can check out the card kit, stamp and die clubs she has on her website.  I belong to all three.  Prices are very reasonable, and if you are in the club you get a 10% discount on all other products.  The word "bee" comes from a Lawn Fawn "bee mine" mini set.  Polka dot paper from Reflections.  I have a ridiculous amount of polka dot and striped paper!  I find it very versatile for so many projects.  Black ink is Versamark. 

Wednesday, March 11, 2015

Birthday Card Organizer

I like making something from things that would ordinarily be thrown away. I love "found object" art as well.  I saw an idea on another blog (I'm sorry, I can't remember which one. If you recognize this project as similar to another one you've seen please let me know and I will give a link to that project as well.) to make a birthday card organizer.  I love making cards and it would be great to make them in advance and put them into a little file for sending when the time comes.  I started looking for a little box to alter and found that the boxes that hold the little "K cups" are perfect for this purpose.

Here is my completed project: 


In order to do this, I used the K cup box and took off the lid. 
 
 
I covered the box in paper, and because I wanted a rather shabby chic kind of look, I used different papers on the front, back, and sides. 


I also covered the insides of the box with coordinating paper so it would have a more finished look. 
 
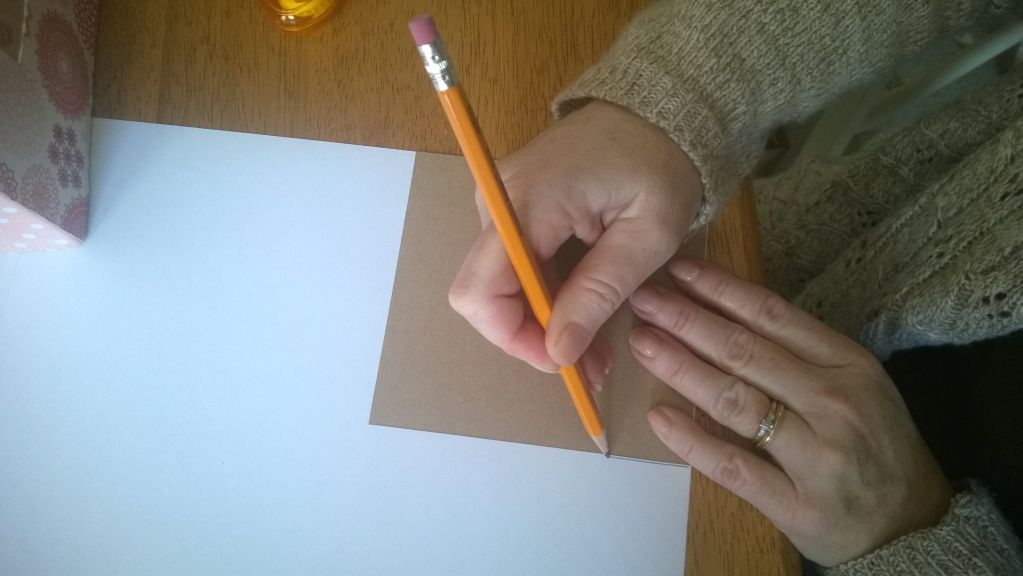
I then cut out squares to fit the box from chipboard, and covered those with paper.  I'm not big on using rulers to measure so I just traced around each piece of chipboard.  
 
 
I made twelve of these pieces, one for each month. 
 
 
I then inked each one, and added a tab at the top with the month, and a piece of lined paper to put the names and dates for each birthday for that month so I could see at a glance the birthdays that were coming up.
 
 
I used Spellbinder's dies for the circles, Tim Holtz distress ink in antique linen and tattered rose, and a variety of patterned paper that I had scraps of lying around.  This is a good project to use up scraps!
 
I hope this system helps me become more organized.  I don't usually forget birthdays, but I do find myself often scrambling to make a card at the last minute.  Perhaps this will help me to have some cards prepared in advance.  One can always hope!